General Usage
Pre-Configurations
This General Usage guide assumes the following configurations have already been set:
- Request Templates are enabled and default values have been set
- Attachments are enabled
- Contract Signer settings have been set
- Workflow settings are enabled
- Expiration date is enabled
- Default E-mail communications have been set
Sending a Document for Signature
To send a signature request, navigate to the contract you wish to be signed and perform the following steps:
- Press the Dropbox Sign logo at the top right of the page to open the side-panel
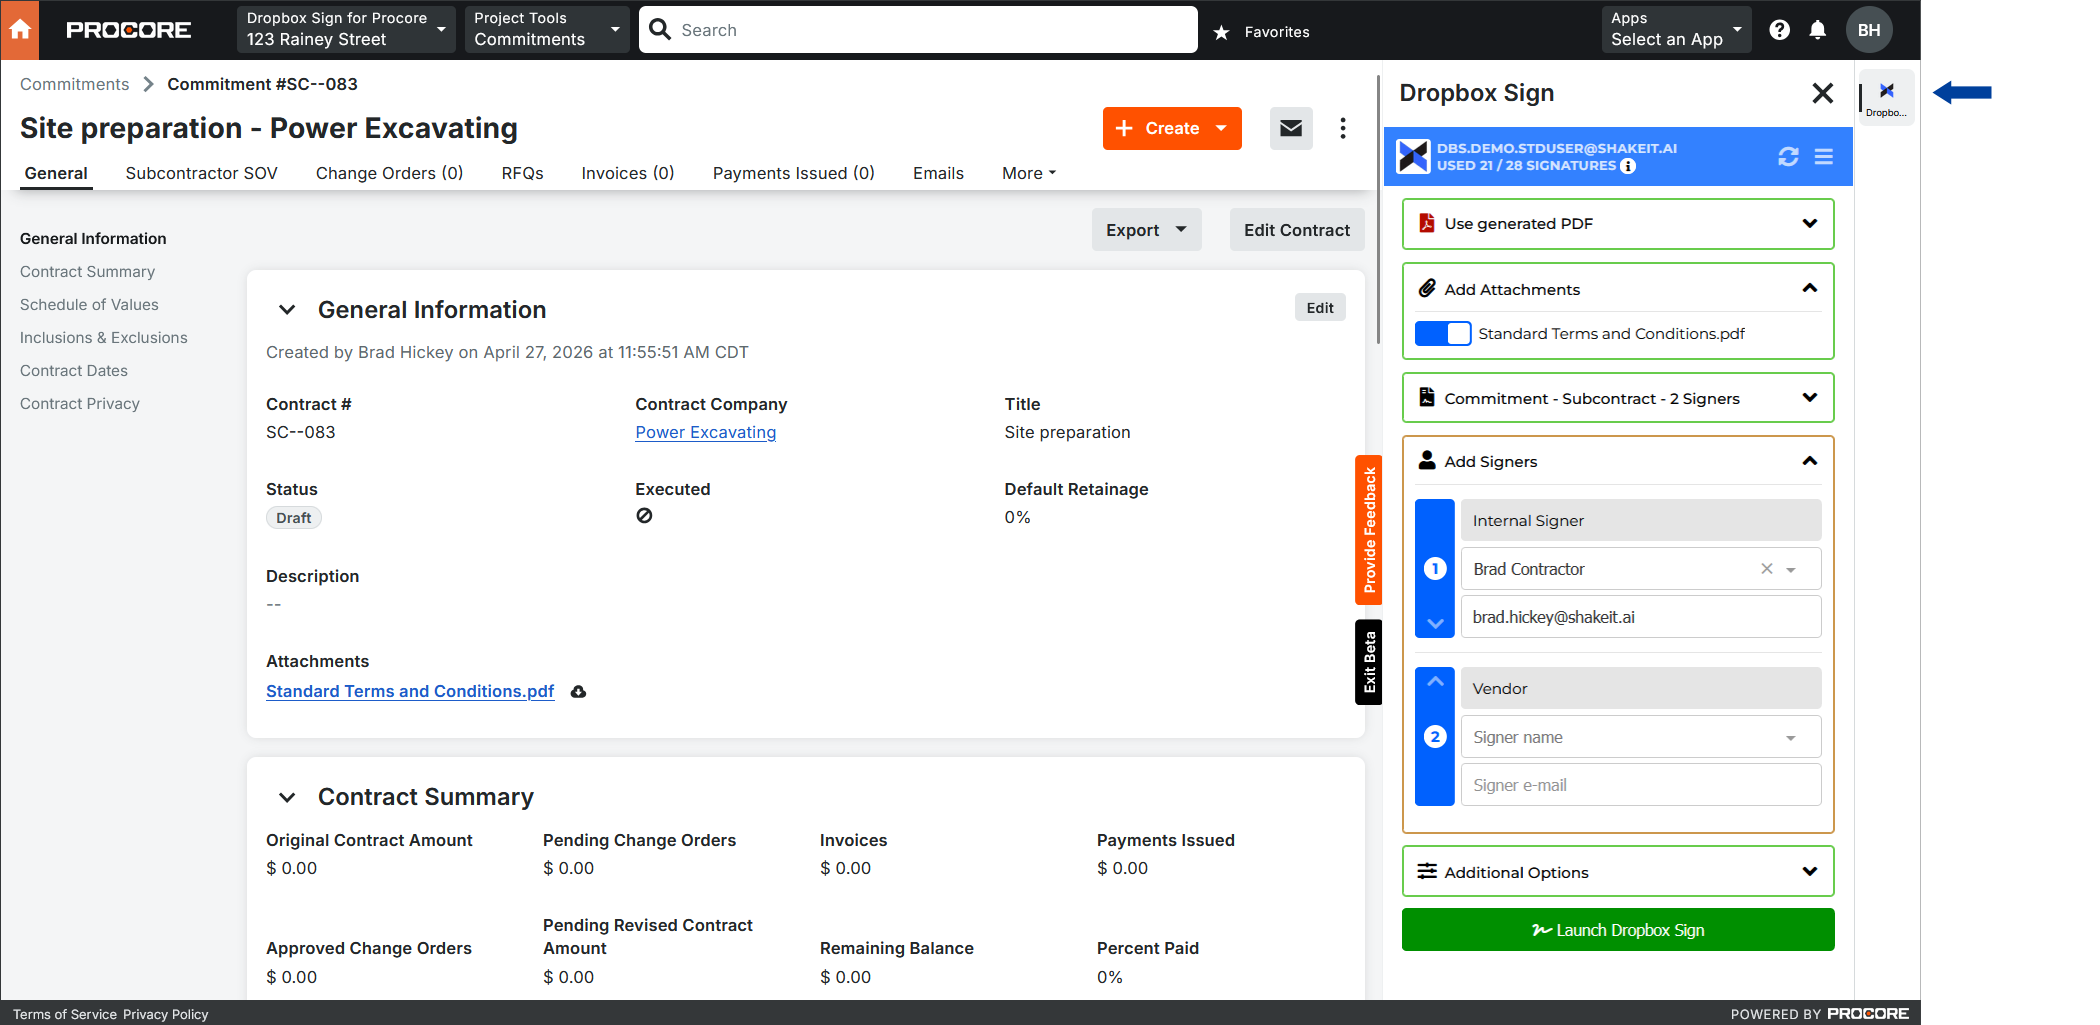
- The main contract will be automatically generated for most contract types. If the file is not generated, export the PDF and select the file from your computer.

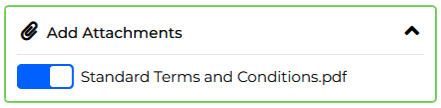
- If the "Enable Multiple Attachments" setting is enabled, an Attachments section is displayed. Select any attachment that should be sent along with the primary contract. These attachments may contain text tags that determine signature placements within the document.
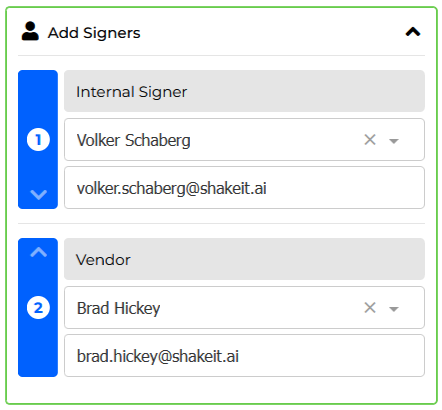
- If a default Request Templates is configured, the template will be automatically selected. In this example, the "Commitment - Subcontract - 2 Signers" template was automatically selected and the signer roles were loaded. If no template is selected, the signers can be manually added.
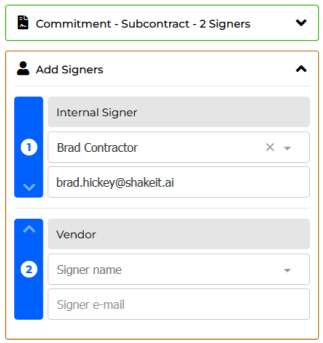
- If the Contract Signer setting is enabled, the signer will be automatically assigned to the request. If a Contract Signer Role is specified, the contract signer will be placed in the matching signer position. In this example, the contract signer role did not match a role from the template. In this case the contract signer is added to the first signing position and we must manually move them to the second position.
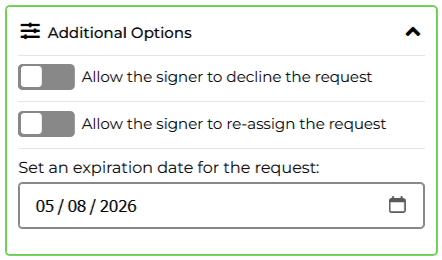
- The "Additional Options" section is only displayed if there are certain settings enabled, such as allowing a signer to decline a request. In this example we will set the expiration date.
- Once everything is setup, press the "Launch Dropbox Sign" button to open the Dropbox Sign embedded requesting tool in a new browser tab.

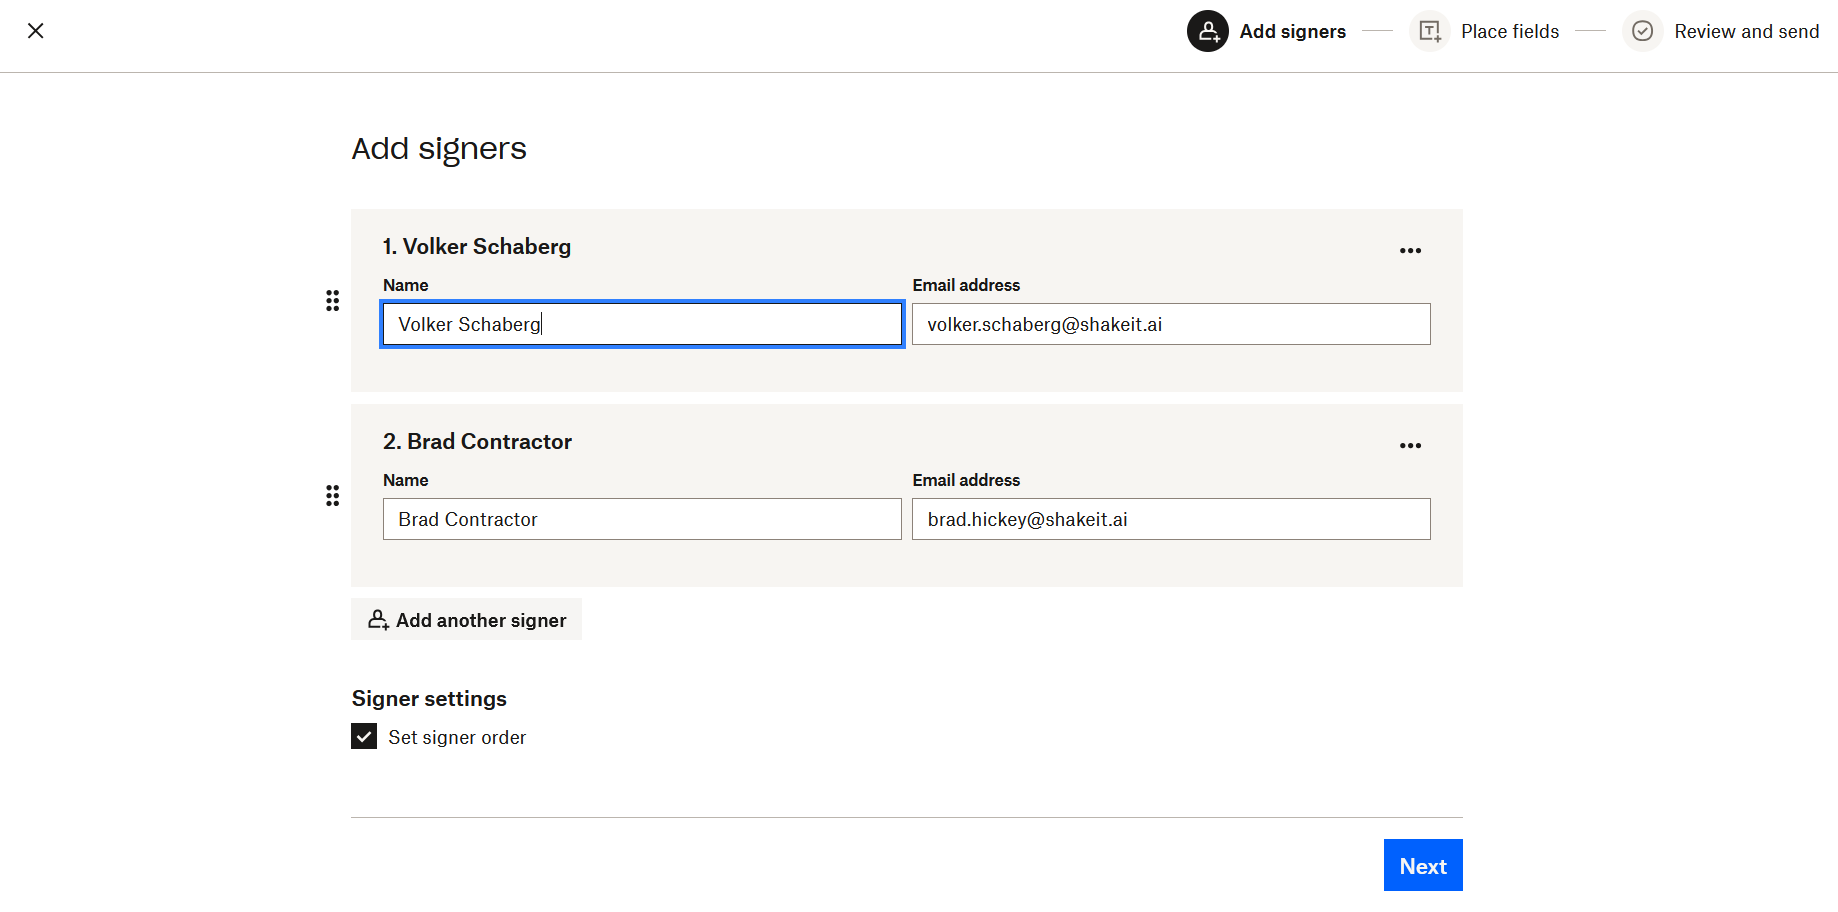
- The Dropbox Sign embedded requesting tool is a 3-step wizard. On the "Add signers" screen, you can unset the signing order so everyone signs at the same time if necessary.
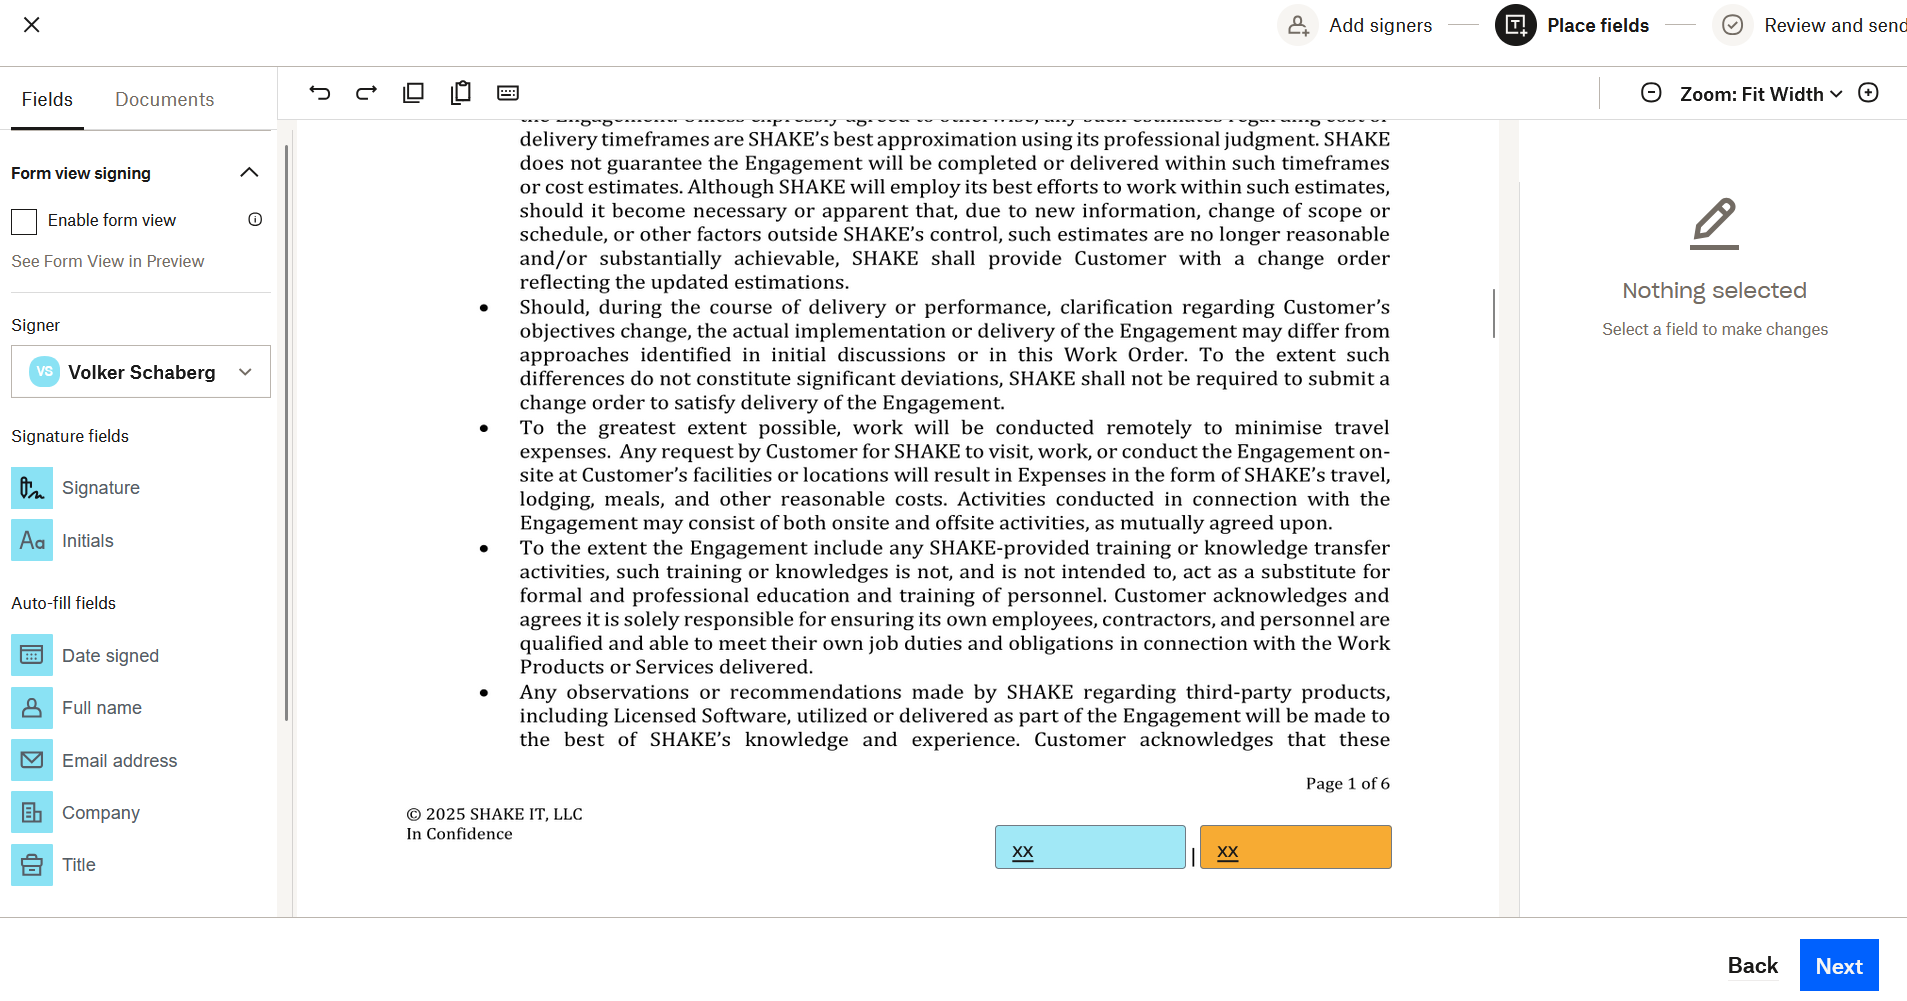
- The second screen allows you to drag-and-drop the signing locations within the documents. In this example, the signing locations are automatically placed from the selected request template. Press the "Next" button to continue.
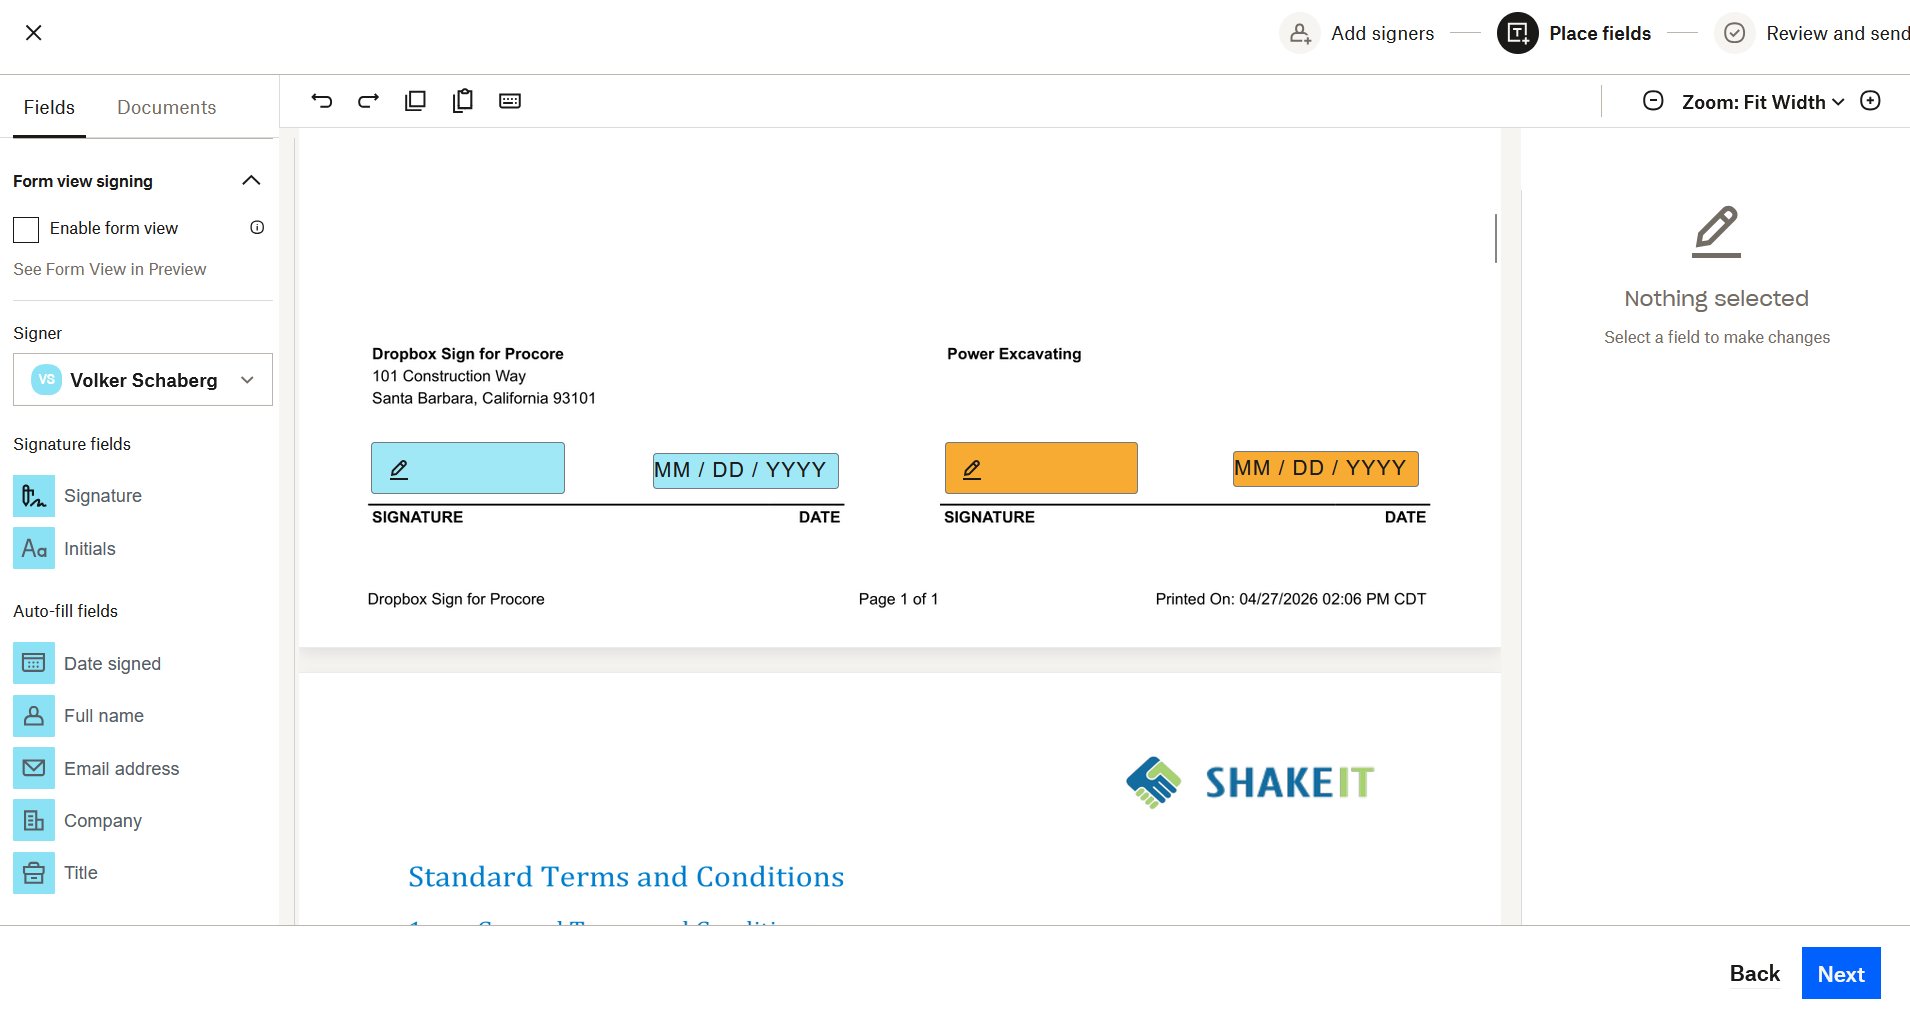
- The attachment displayed below already contains text tags, so no drag-and-drop is needed. Press the "Next" button to continue.
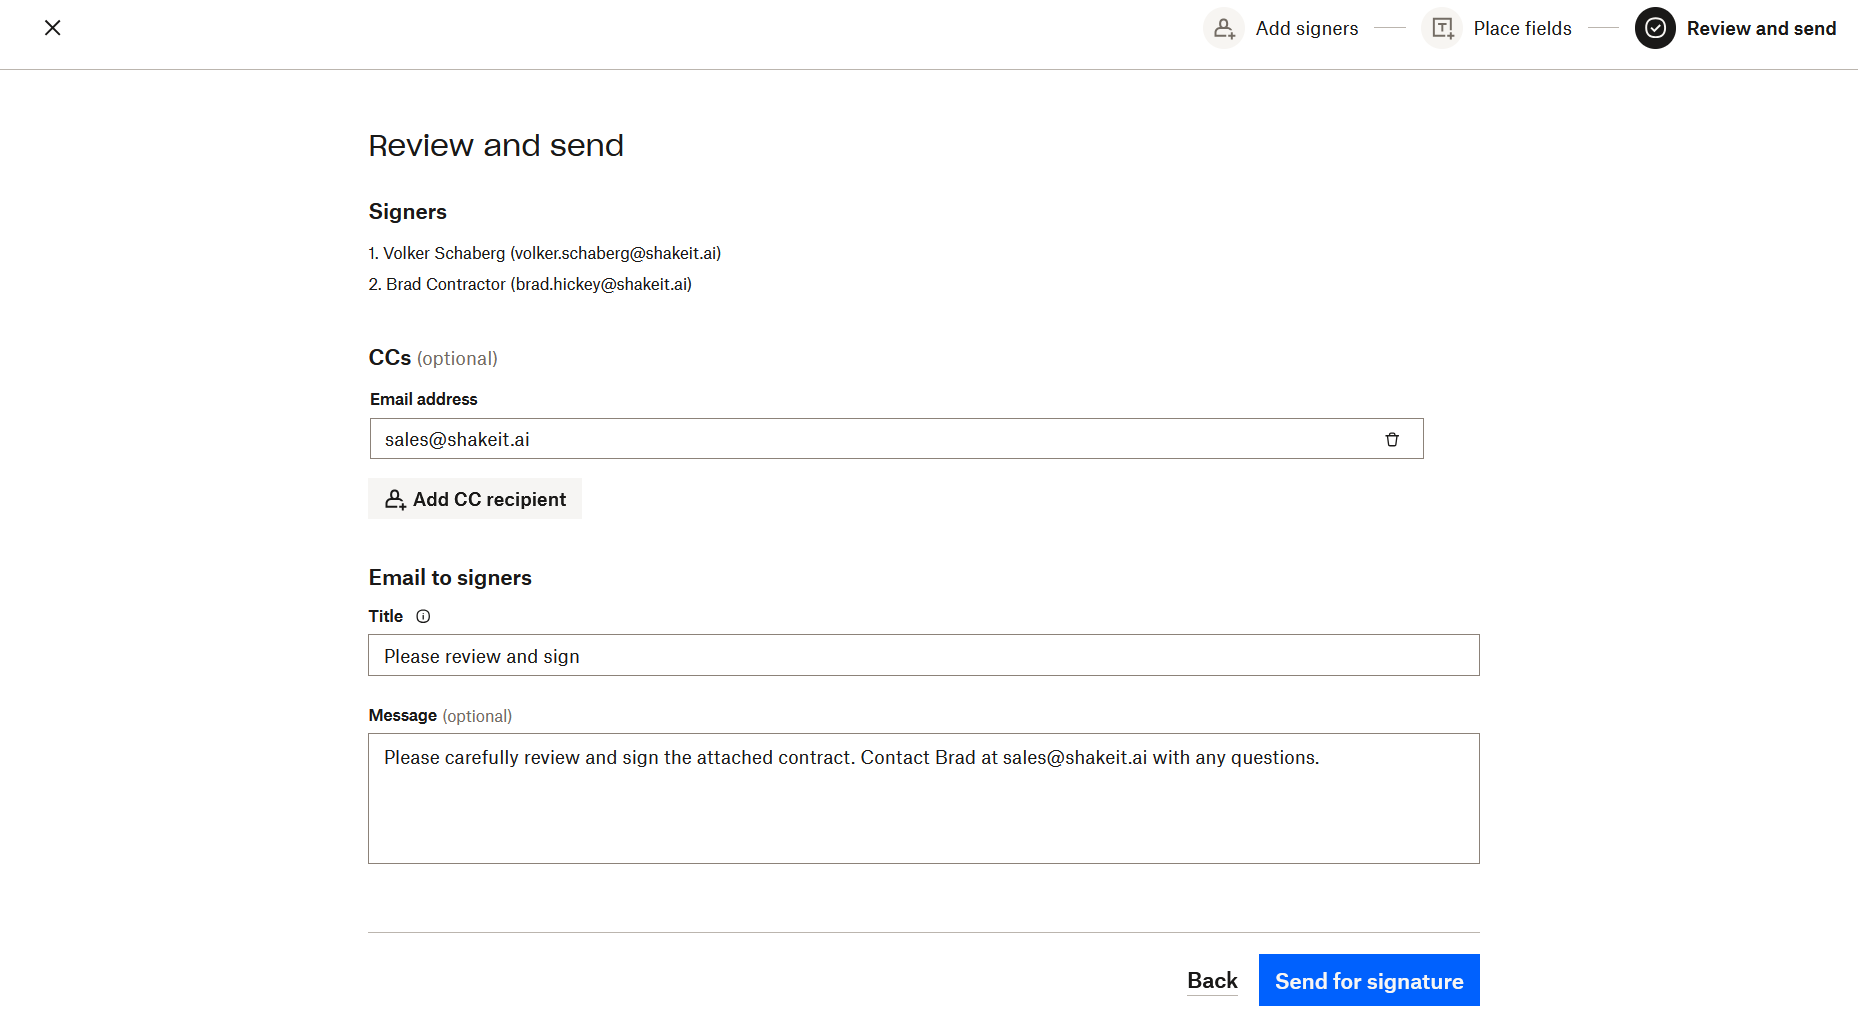
- The last step of the wizard allows you to modify the communications before the e-mails are sent. In this example, default values were previously set in the Communications settings, so no changes were required. Press the "Send for signature" button to send the request.
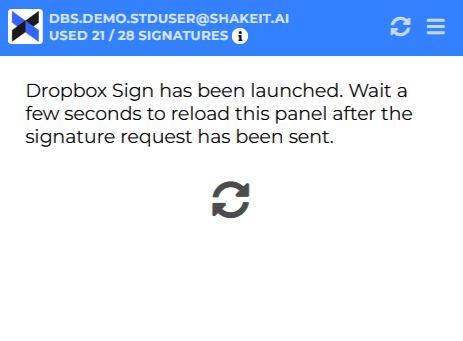
- After the request is sent, wait a few seconds before refreshing the side-panel. The request status will only be shown after the signers have received their e-mails, which can take a few moments.
Track Request Status
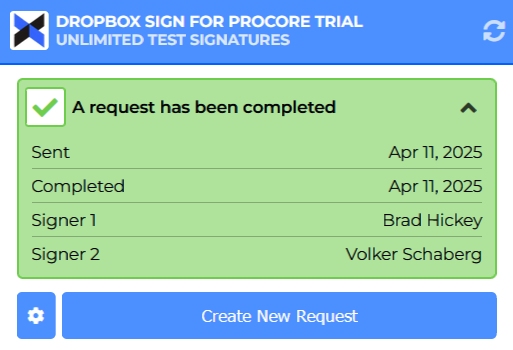
Signature requests can be tracked within the side-panel or directly in Dropbox Sign.
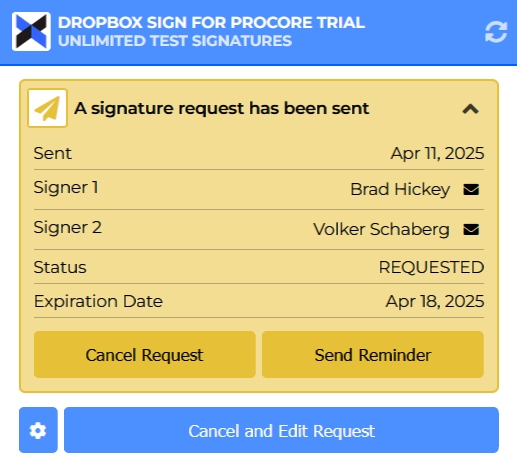
Once a signer has viewed the request, the signer icon will be updated from "E-Mailed" to "Viewed"

Once a signer has completed the request, the signer icon will be updated from "Viewed" to "Signed"
Once all parties have signed, the request status will show as completed. There are also statuses for declined, expired, and cancelled.