Configure Procore
Install app from Procore marketplace
First, start by installing the Dropbox Sign for Procore app from the Procore Marketplace. To do this:
- Browse to the Dropbox Sign for Procore listing on the Procore Marketplace
- Press the "Login to Install" button and login to Procore as an administrator
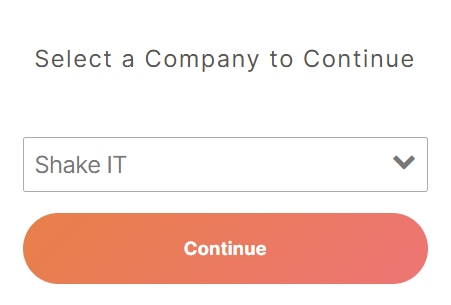
- Select a Company as needed
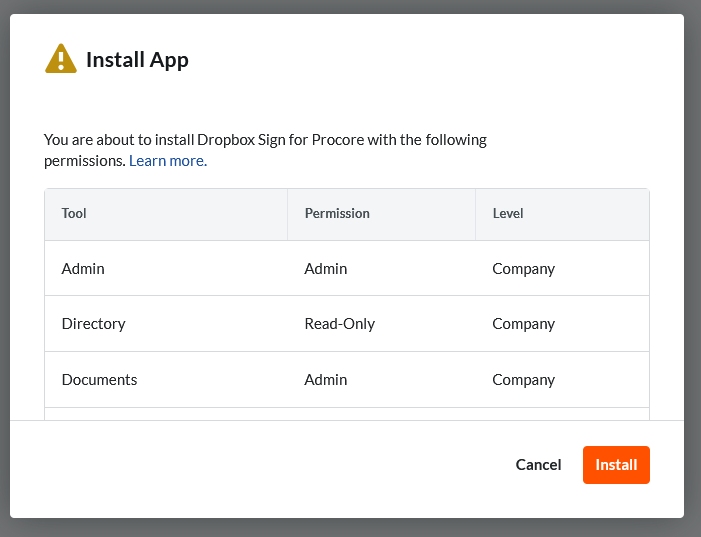
- Accept the app permissions by pressing the "Install" button
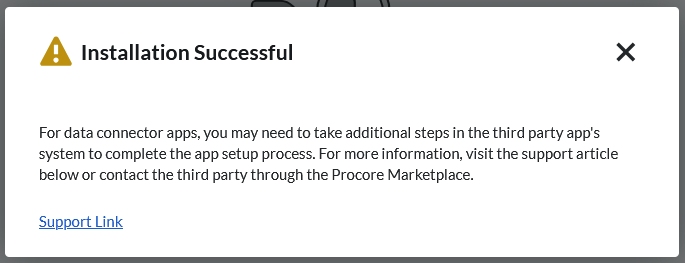
- Press the X icon to close the success message
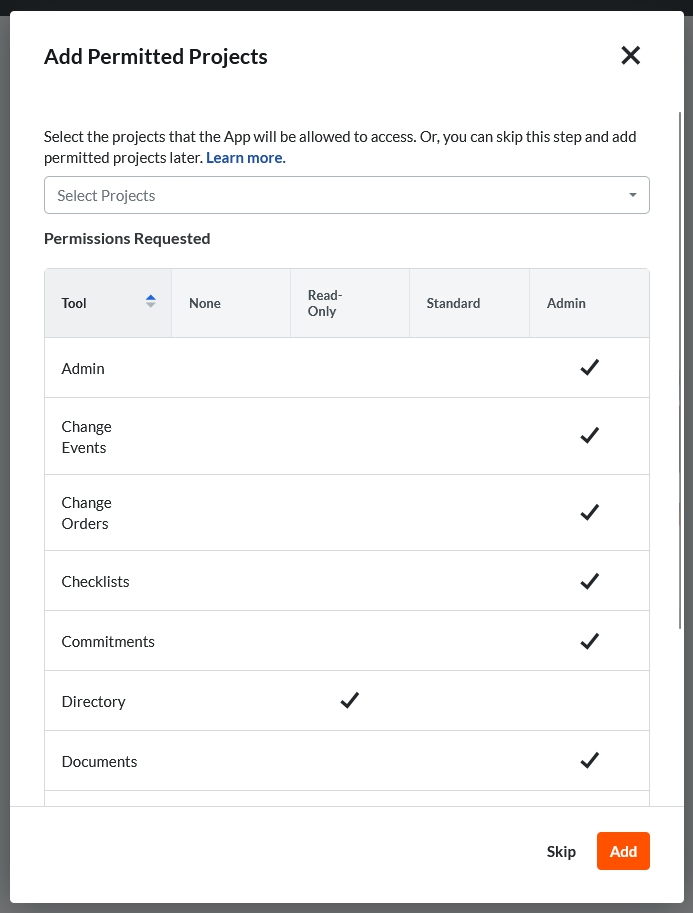
- If the app will only be added to specific projects, select them here. Skip this step if adding to all projects.
Create app configuration
Next, create an app configuration which allows the side-panel to be displayed for projects:
-
When initially installing the app, the Configurations tab will automatically be displayed. To access this after the initial install, browse to App Management and Edit the Dropbox Sign for Procore install, then select the Configurations tab.
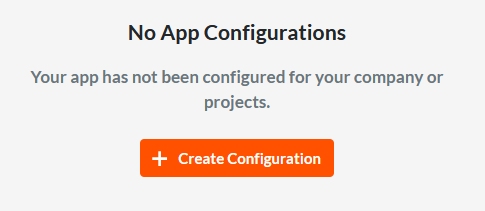
-
Press the "Create Configuration" button
- If the app should be displayed for every project, select "Global Projects Config." Otherwise, select the appropriate projects where the side-panel app should be enabled.
- For the title, enter "Dropbox Sign for Procore"
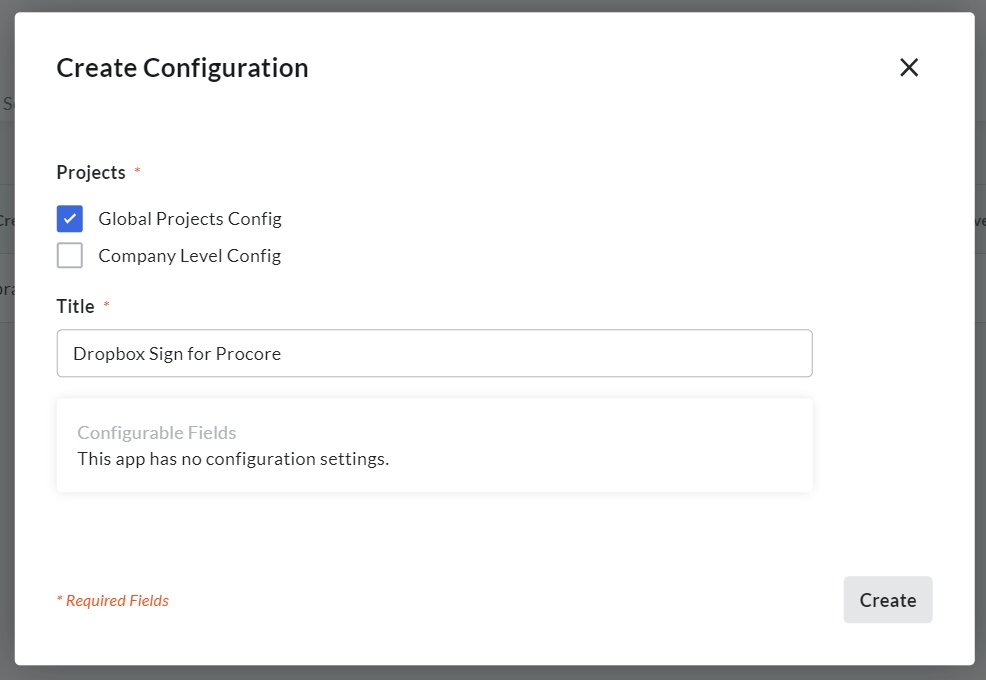
- Press the "Create" button
Configure service user permissions
The side-panel app permissions are controlled by a user that gets automatically added to the Company-level Directory. To manage this user:
- Click the Procore icon in the top left to ensure you are at the company level
- Select Company Tools > Directory
- Find and Edit the "dropbox-sign-for-procore" user

- Scroll down to the Company Permissions Templates section
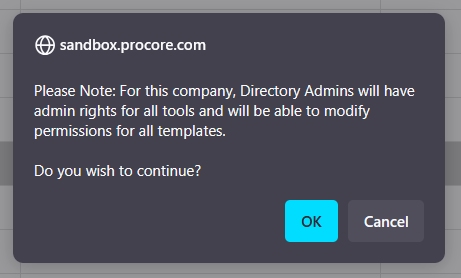
- Select the "Admin" radio option next to the Directory tool
- Press the "OK" button to accept the warning
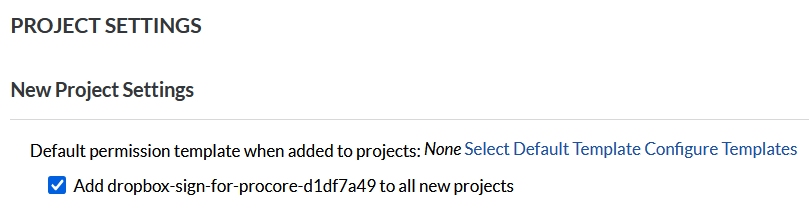
- Scroll down to the Project Settings section
- If the integration should be added to all projects, select the "Add dropbox-sign-for-procore user to all new projects" option
- Press the "Save" button to save the configuration
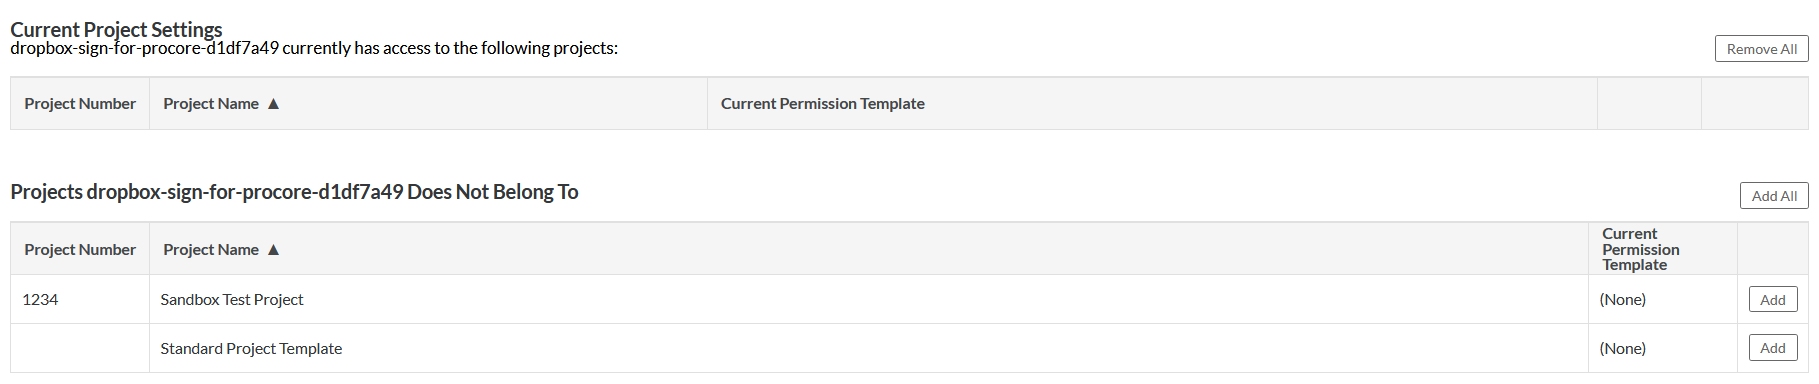
- On the edit user page, scroll down to the Current Project Settings section
- Ensure the user has been added to the appropriate projects. Press the "Add All" button if the app will be added to all projects.